Today's vehicles are a symphony of mechanical and electronic components, working in harmony to ensure a safe and responsive drive.
When we talk about the mechanical systems of a car, we're talking about the bones and muscles — the parts that make it move, turn, and stop. Regularly scheduled inspections and maintenance can prevent many mechanical issues, but when they do arise, you need auto repair in Burlington you can trust for thorough, quality service.
The technicians and mechanics at The Auto Station are all fully licensed by Skilled Trades Ontario and have a comprehensive knowledge of autos from elementary to advanced—EVs and hybrids included. Preserve your investment and get back on the road safe and sound.
Mechanical Systems Overview
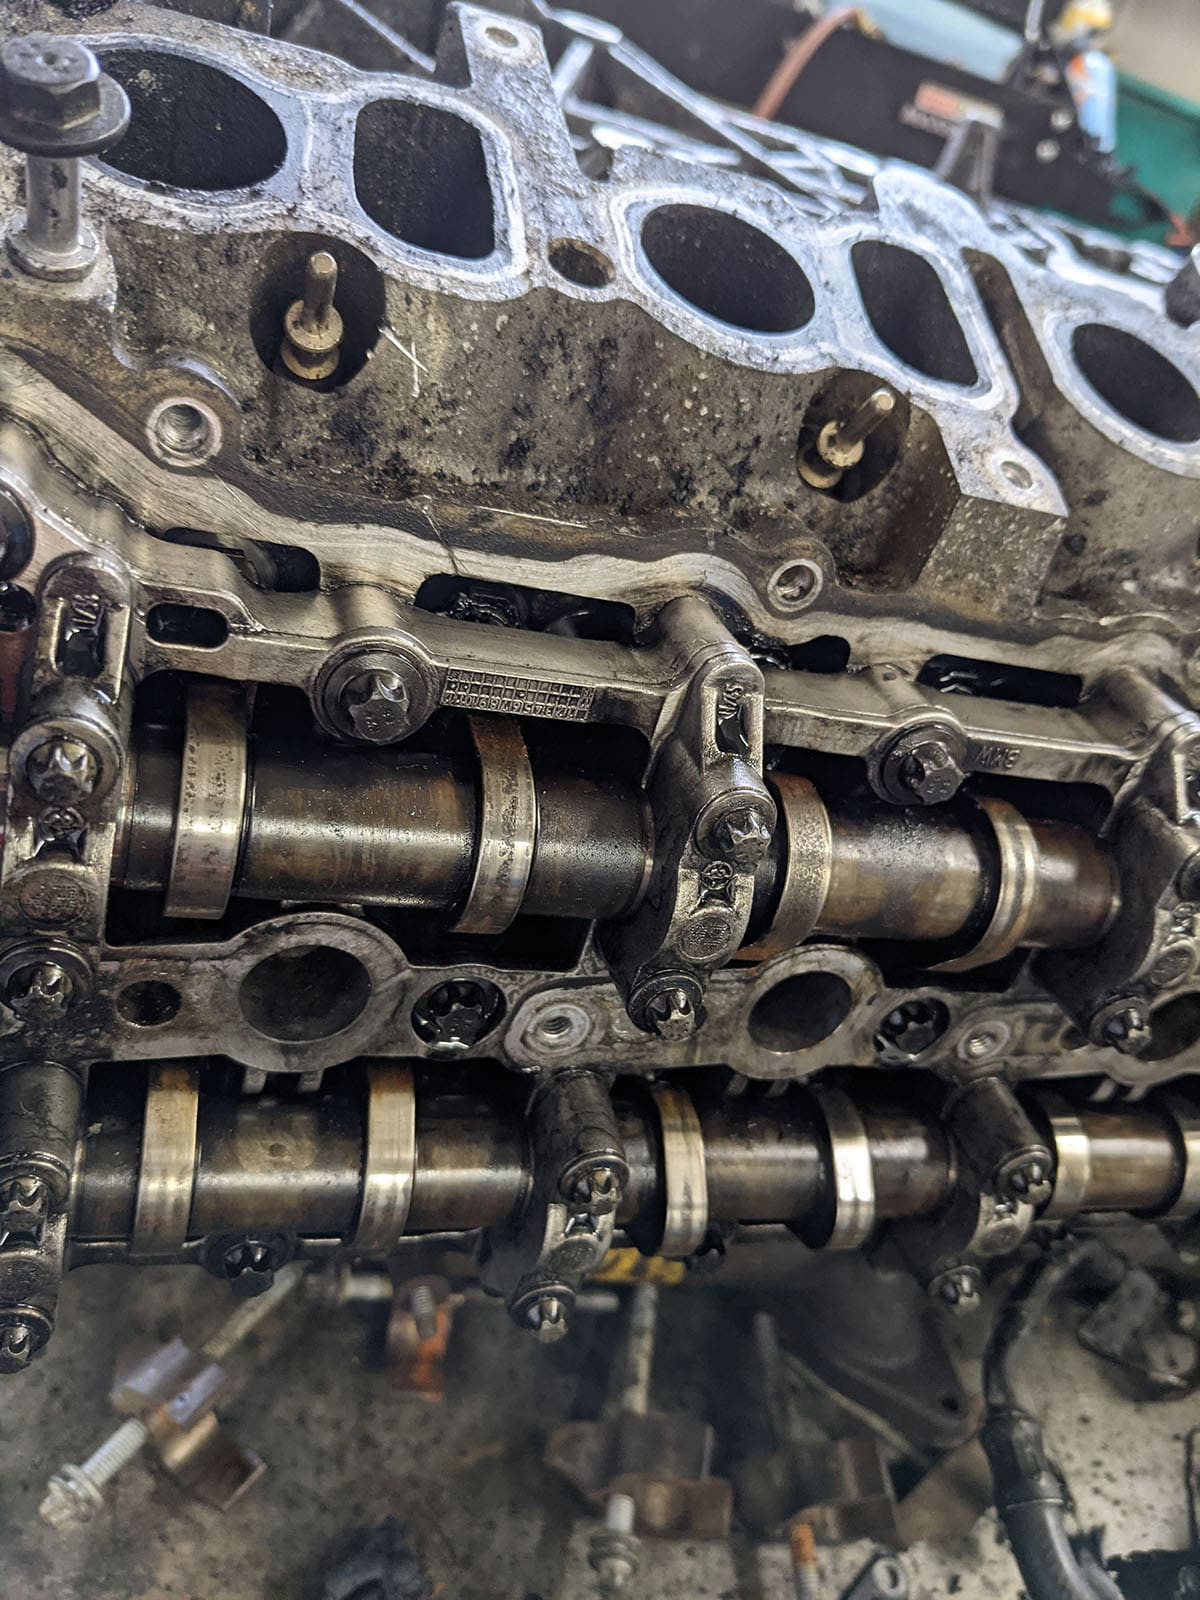
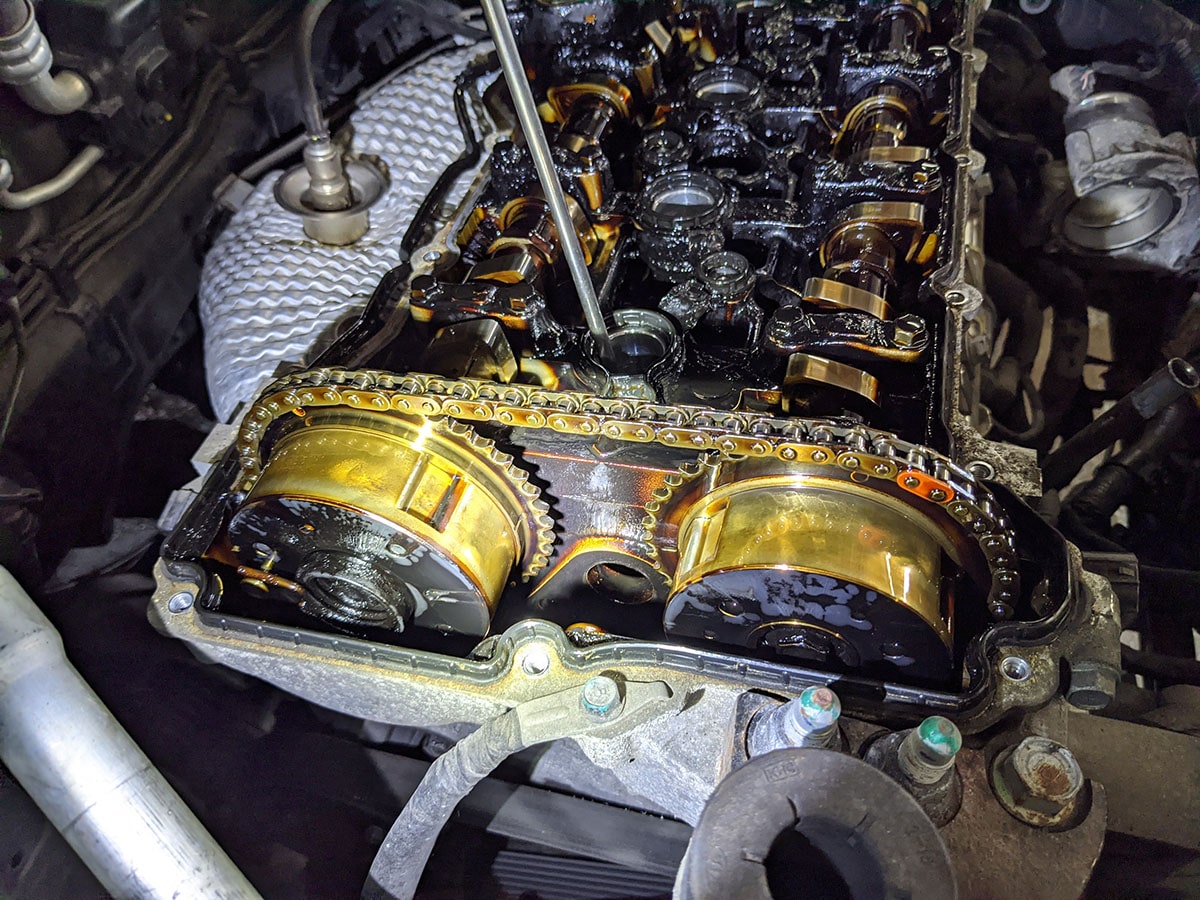
Engine
The engine is the heart of your vehicle, converting fuel into mechanical energy to power your car.
Common Issues
- Overheating: Often caused by a coolant leak, faulty radiator, or a broken water pump.
- Oil Leaks: These can result from worn-out gaskets, seals, or a damaged oil pan.
- Engine Misfire: Typically due to faulty spark plugs, ignition coils, or fuel injectors.
Why They Happen
- Overheating: Insufficient coolant levels or a malfunctioning cooling system.
- Oil Leaks: Age and wear of engine components.
- Engine Misfire: Ignition system or fuel delivery issues.
When to Call a Professional
- If you notice the temperature gauge rising frequently.
- If you see oil spots under your car or a significant drop in oil levels.
- If the engine is running rough or the check engine light is on.
Transmission
The transmission transfers power from the engine to the wheels, allowing your car to move at different speeds.
Common Issues
- Slipping Gears: The car changes gears unexpectedly.
- Delayed Shifting: Hesitation or delay when shifting gears.
- Transmission Fluid Leaks: Red or brown fluid under the car.
Why They Happen
- Slipping Gears: Worn-out gears or low transmission fluid.
- Delayed Shifting: Faulty transmission control module or low fluid levels.
- Fluid Leaks: Damaged seals or gaskets.
When to Call a Professional
- If you experience unexpected gear changes or delays in shifting.
- If you notice transmission fluid under your car.
- If the transmission warning light is on.
Axles and Wheels
Wheels and axles are crucial for vehicle movement and stability.
Common Issues
-
Wheel Alignment Issues: The car pulls to one side.
-
Axle Damage: Noise or vibration when driving.
-
Uneven Tire Wear: Tires wear out unevenly.
Why They Happen
- Wheel Alignment Issues: Hitting potholes or curbs.
- Axle Damage: Wear and tear or impact damage.
- Uneven Tire Wear: Misalignment or improper tire inflation.
When to Call a Professional
- If your car pulls to one side while driving.
- If you hear unusual noises when turning.
- If you notice uneven tire wear.
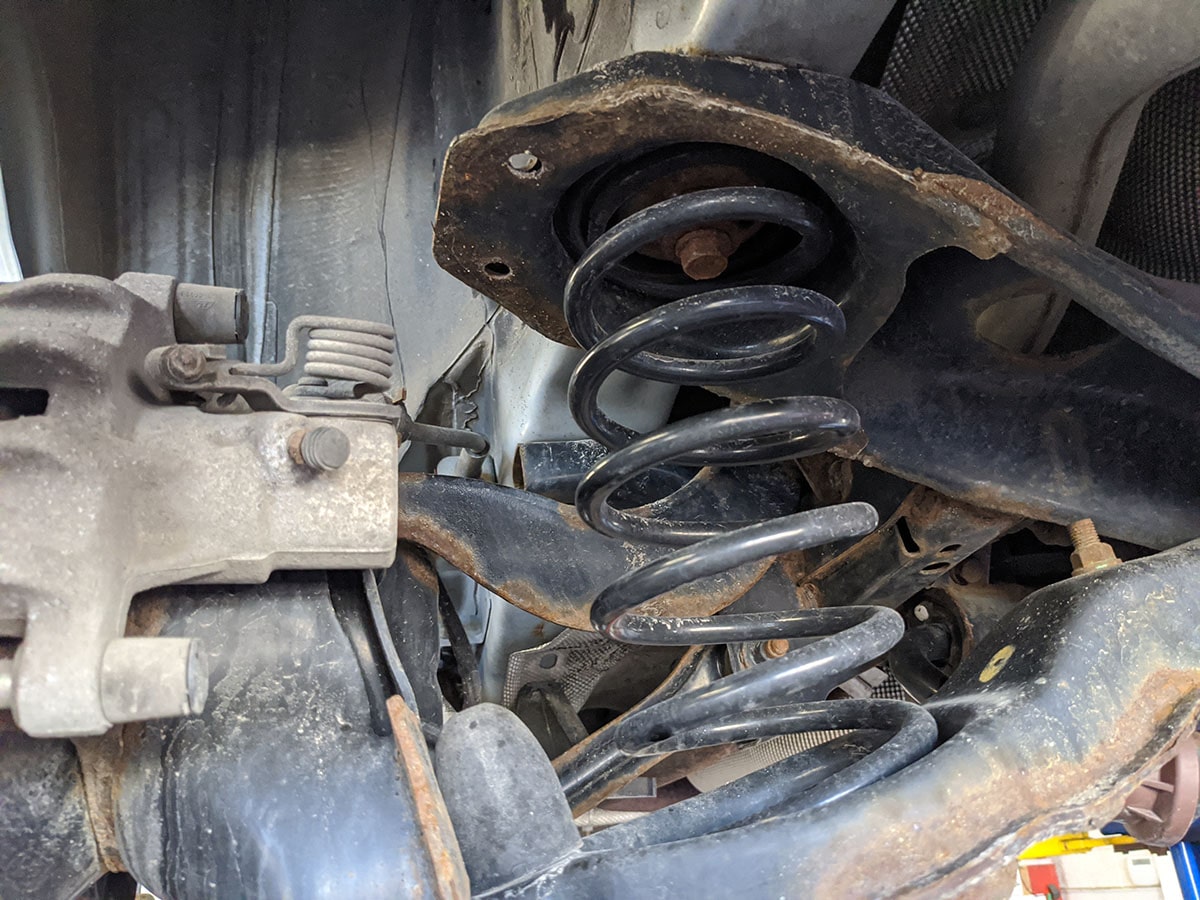
Suspension
The suspension system supports the vehicle's weight and absorbs shocks from the road.
Common Issues
- Worn Shocks/Struts: Bumpy ride or poor handling.
- Broken Springs: Sagging vehicle or uneven ride height.
- Suspension Noises: Clunking or squeaking sounds.
Why They Happen
- Worn Shocks/Struts: Age and mileage.
- Broken Springs: Overloading or hitting large potholes.
- Suspension Noises: Worn or damaged components.
When to Call a Professional
- If your ride feels unusually bumpy or you have difficulty handling the car.
- If your vehicle sags or sits unevenly.
- If you hear unusual noises from the suspension.
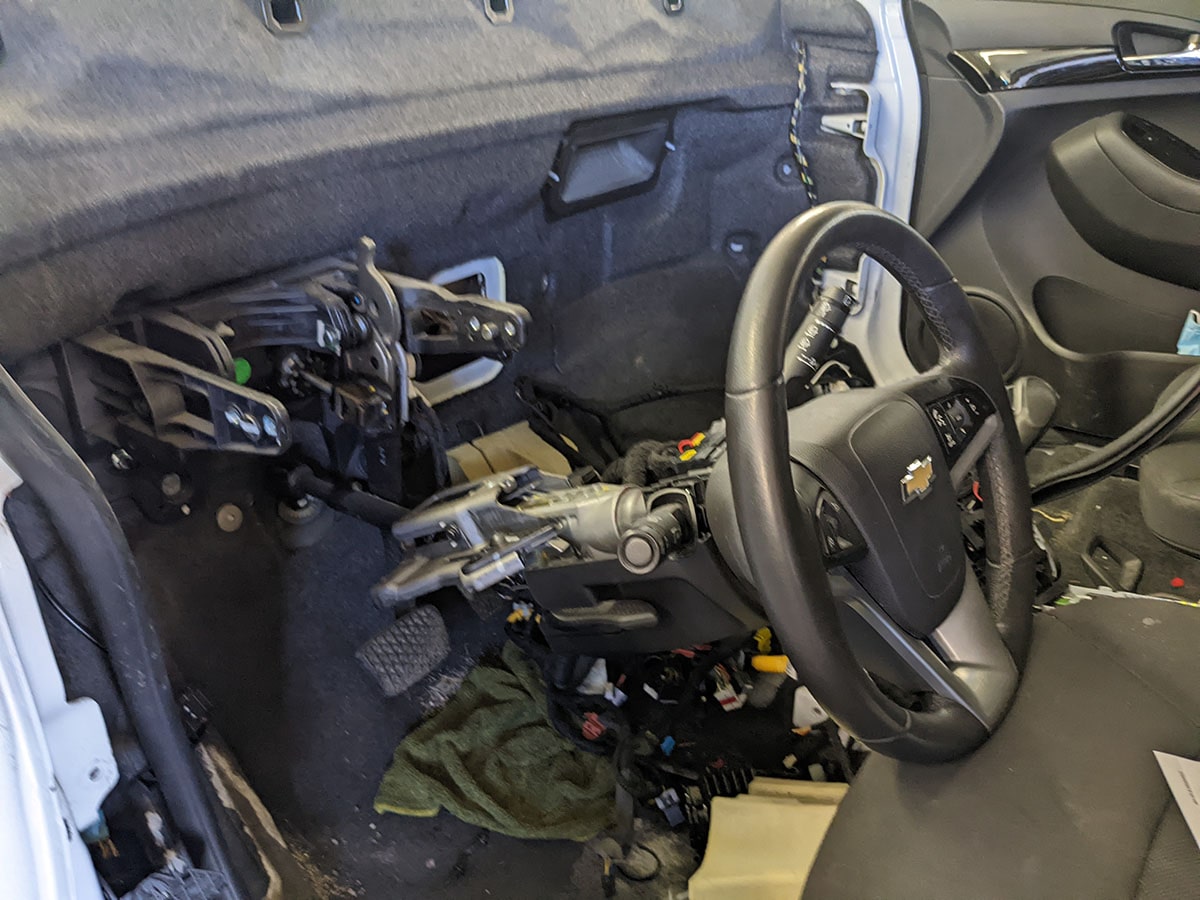
Steering
The steering system allows you to control the direction of your vehicle.
Common Issues
- Steering Wheel Vibration: Shaking steering wheel.
- Power Steering Fluid Leaks: Difficulty steering.
- Loose Steering: Excessive play in the steering wheel.
Why They Happen
- Steering Wheel Vibration: Unbalanced wheels or worn steering components.
- Power Steering Fluid Leaks: Damaged hoses or seals.
- Loose Steering: Worn steering rack or tie rods.
When to Call a Professional
- If your steering wheel vibrates or shakes.
- If you have difficulty steering or notice fluid leaks.
- If there is excessive play in the steering wheel.
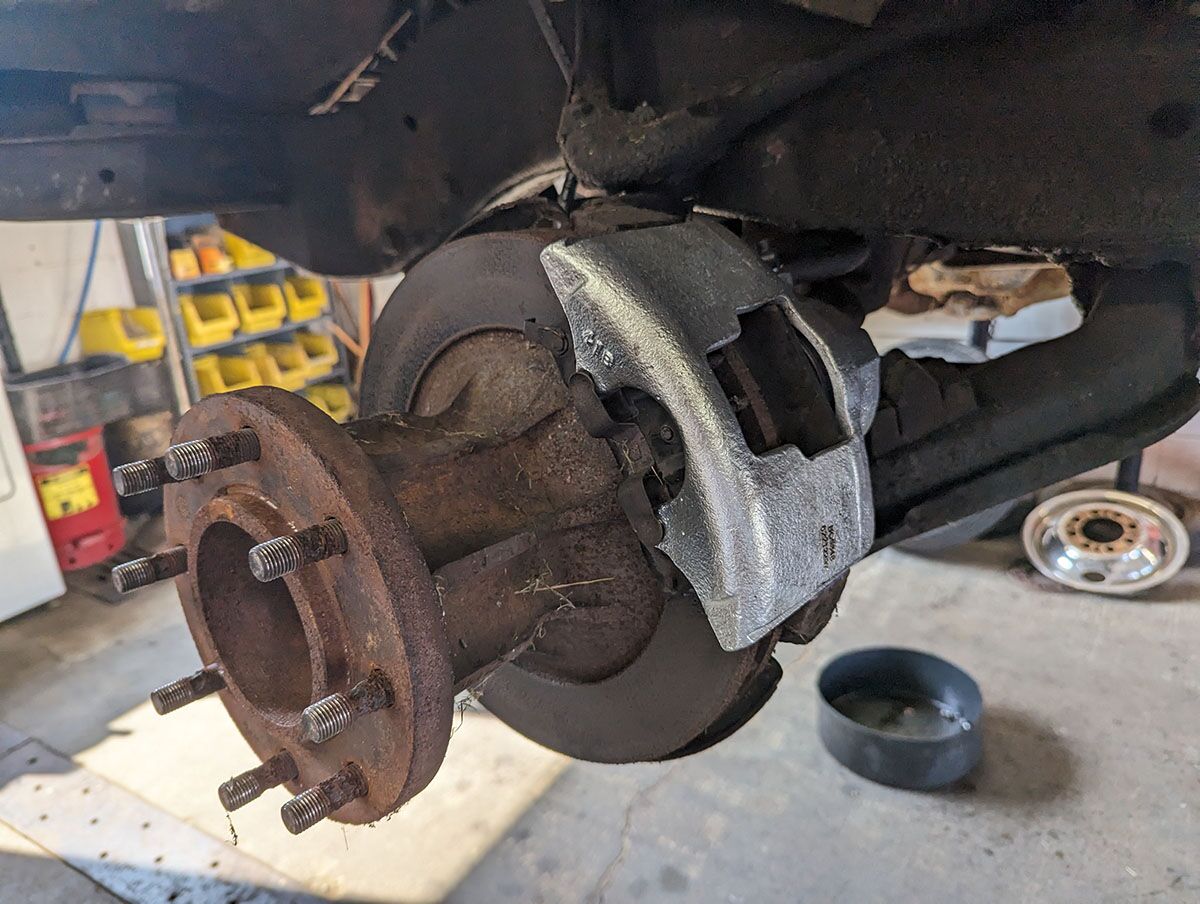
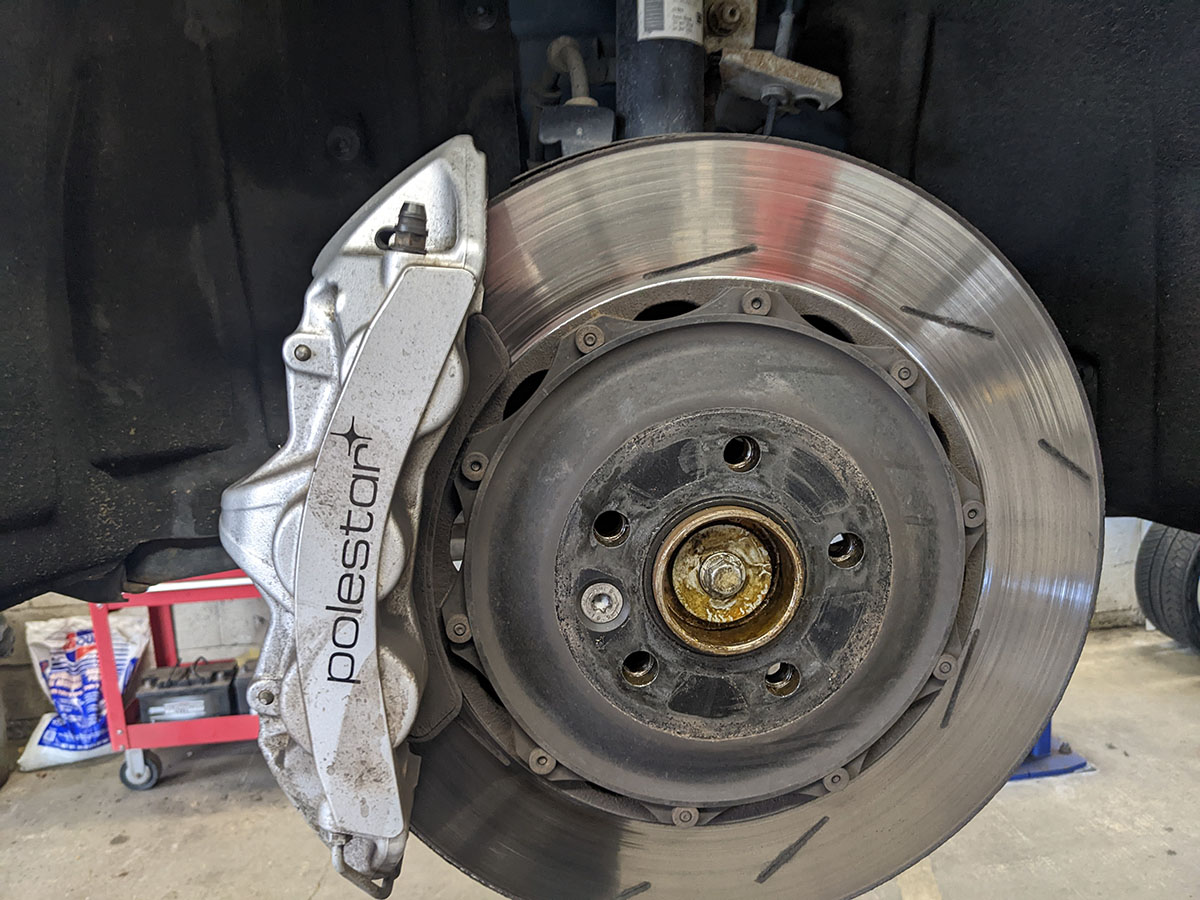
Brakes and Rotors
The brake system is essential for vehicle safety, allowing you to stop your car effectively.
Common Issues
- Squeaking or Grinding Noises: Worn brake pads or rotors.
- Soft Brake Pedal: Air in the brake lines or low brake fluid.
- Brake Warning Light: Indicates a problem with the brake system.
Why They Happen
- Squeaking or Grinding Noises: Brake pads or rotors need replacement.
- Soft Brake Pedal: Brake fluid leak or air in the system.
- Brake Warning Light: Various issues, including low fluid or worn components.
When to Call a Professional
- If you hear squeaking or grinding noises when braking.
- If the brake pedal feels soft or spongy.
- If the brake warning light is on.
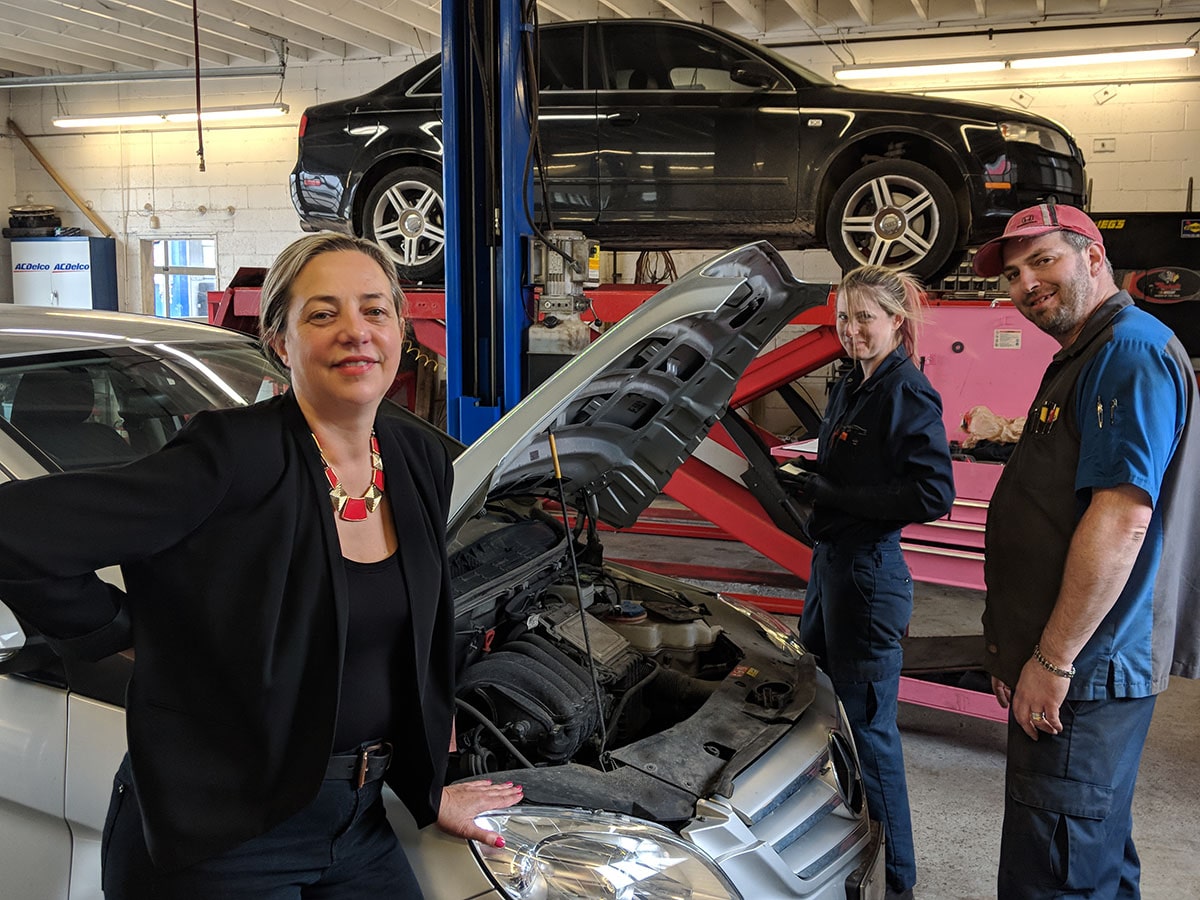
Why Choose The Auto Station as Your Car Mechanic in Burlington?
Total transparency
You'll receive a full digital report at each service appointment, complete with photos and a video presentation put together by your technician. No work is done unless approved by you!
Total respect
We know life doesn't wait when your vehicle is sidelined. We offer free loaner vehicles or shuttle service anywhere in the Halton Region because your time matters.
Total expertise
Every mechanic, technician, and apprentice at The Auto Station is registered with the Ontario College of Trades, with a passion for knowing cars of all makes and models - inside and out.
Total confidence
We believe in our staff — and returning maximum value to our customers. That's why every car repair in Burlington we provide comes with a 3-year/60,000 km warranty.
What Our Customers Are Saying
Auto Repair FAQ
Do you offer emergency repair services in Burlington, ON?
Yes! Please call us immediately if you need urgent assistance, and we'll do our best to accommodate you as quickly as possible!
Can I get a quote before any work is done?
Do you offer any financing options for large repairs?
How often should I have my vehicle serviced in Burlington, ON?
What should I do if my check engine light comes on?
Do you provide services for electric and hybrid vehicles in Burlington, ON?
Can I wait at the shop while my car is being serviced?